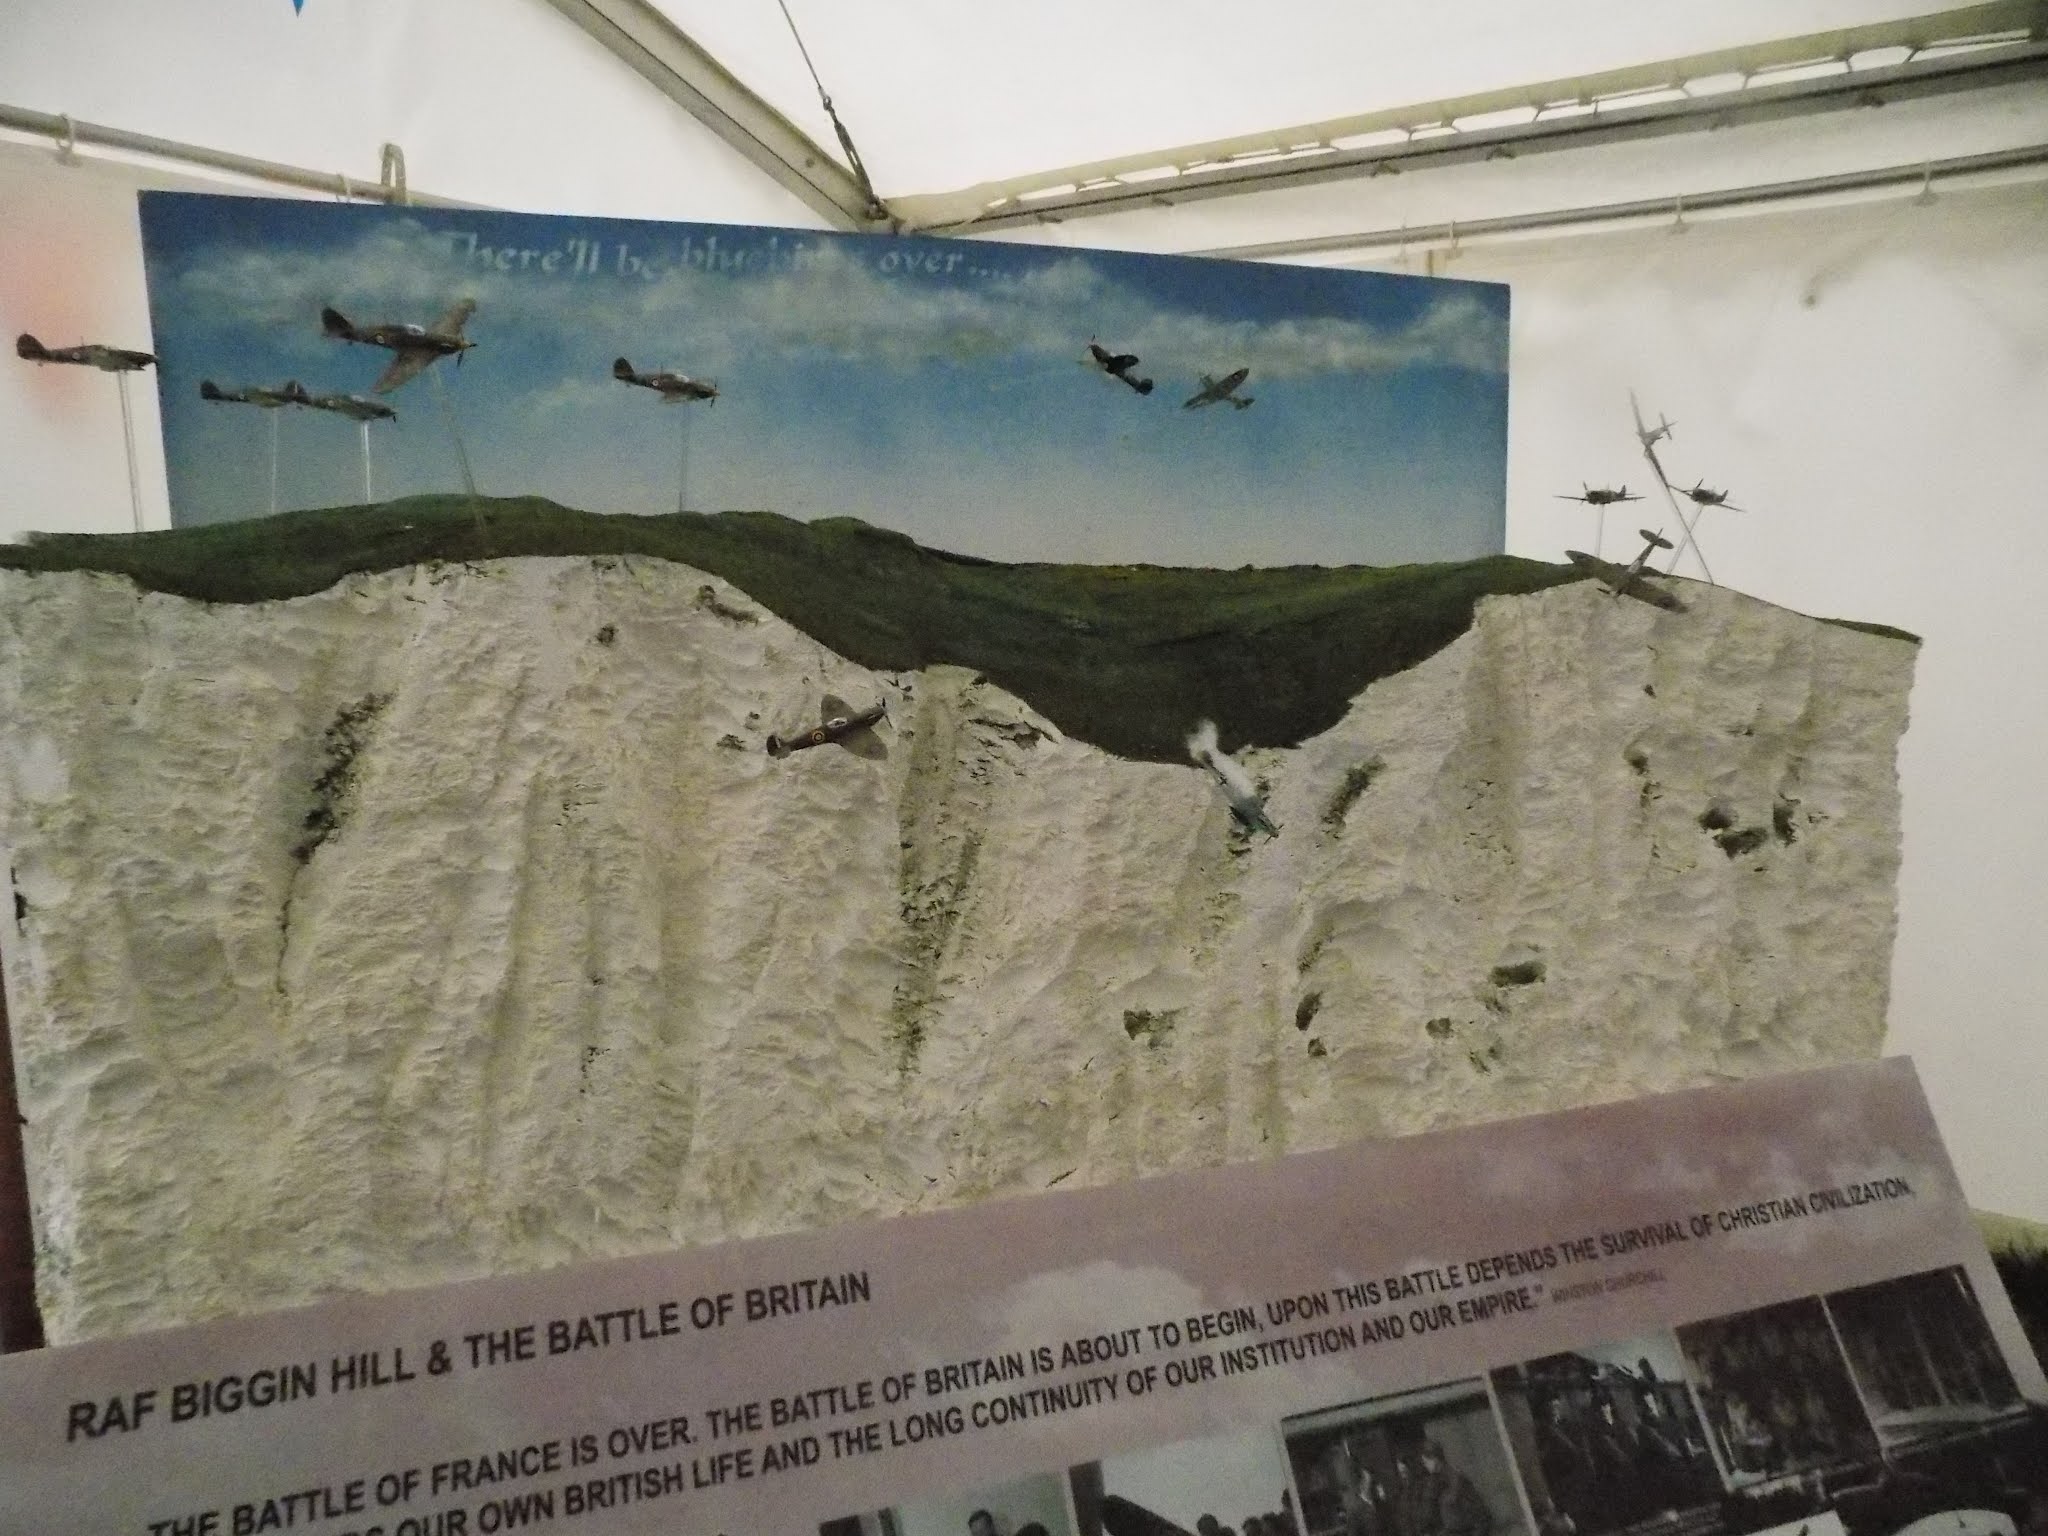
'Heavy Tank Showdown' Diorama

Background History

In World War II, during the summer of 1943, the German army launched Operation Citadel near the Russian city of Kursk. The Soviets believed that the operation would come in the form of a two pronged attack, one in the North and another in the South, in an attempt to surround the city and the Russian forces there. To counter this, they began constructing an elaborate line of defensive fortifications in both areas of the front. On the 12th April, their suspicions of the locations of the offensive were confirmed when they received a letter at their command in Moscow from one of their spies.

The attack in the Northern sector would be executed by Germanys Army Group Centre, while the South would be left to Army Group South, with both armies planning to attack their sectors at the same time. The attack took place on the 5th July 1943, after being postponed for a month to allow for the arrival of newly developed German vehicles, Panther tanks and Ferdinand tank destroyers, to the front. With a knowledge of the planned time and date of the offensive, provided by captured German soldiers, the Soviet forces launched a devastating artillery barrage on the German preparation areas moments before the planned attack. This artillery bombardment disrupted the offensive for a short duration.

With ferocious fighting in the North and Southern sectors, especially around the villages of Ponyri and Prokhorovka, both German and Soviet armies suffered heavy losses of men, vehicles and aircraft during the fighting for the Kursk salient. Operation Citadel ultimately ended in failure for the German army, with most of their armed forces being pushed back behind the original launching points of the operation by early August 1943. Operation Citadel was the last large-scale German offensive on the Eastern front.

Development Process

The idea for this diorama was inspired by a pair of surplus tank models from two separate kits. The model tanks were KV-1 (model 1942) and SU-152, produced by Pegasus Hobbies, in 1/72 scale, which clearly indicated that the resulting diorama would be set on the Eastern front in 1943. With these details in mind, I began to design the potential layout of the diorama in an A5 sketchbook in a series of rough sketches.

01. Possible layout sketches
Clearly visible in the sketches are my ideas for the possible layout of the models and their positioning on the diorama base, but also, the types of models for the opposing German forces within the diorama. The idea for the first design on the page was to recreate a small section of the battlefield, featuring the surplus model Soviet tanks and a single German Tiger tank, separated by a central trench line. For the second design, I decided to focus the potential model on the opposing vehicles of the battle, looking into the idea of having an example of each type 'facing-off' against it's opposing equal (for example; KV-1 vs Tiger I, T-34/76 vs Panzer III, & SU-152 vs Ferdinand).

Eventually, I decided that the former design would be best for the diorama as I felt it would be more visually interesting to recreate a section of the battlefield, featuring several vehicles of that battle in a head-to-head 'face-off'. With the Soviet armoured vehicles already chosen for the diorama, I turned my attention to their opposition. For this model, I opted to have the Russian tanks face-off against a single German Tiger I heavy tank as it was a definitive equal (if not superior) opponent to the Soviet KV-1 heavy tank and SU-152 armoured vehicles. The Tiger model used for this diorama is from a 1/72 scale Italeri® kit.

02. 1/72 scale KV-1 & SU-152 models
03. 1/72 scale Tiger I model
Before starting with the base, I constructed and painted all the tank models that would be placed in the diorama. This assisted in determining the dimensions of the base as the model tanks could be positioned on the material for the base in the correct locations for the layout. This resulted in the base dimensions being 34.7cm X 22.8cm.

To create the base, I used an electric foam cutting tool to cut-out a section of polystyrene packaging foam to the specified dimensions before placing a layer of ModRoc plaster sheets on top of the foam for added strength. Once these sheets were dry, I painted the topside in a brown basecoat to reflect the colour of dirt. When this had also dried, I placed the models on the base once more in their layout positions and drew around the edges of each of their tracks. From there, using a hot glue gun, I created several trails of glue ridges to create the illusion of tracks churning up the ground. I also used this technique with the glue gun to create the raised area of the bomb crater, however, to make the edges of the crater more realistic, after the first ring of glue had cooled and solidified, I placed another layer on top, dragging the edges outward with the tip of the glue gun to create a 'spiked' edge appearance.

To achieve the detail and texture of the terrain for the base, I collected some dry dirt from my garden in preparation for covering the churned-up areas, and used a mixture of Woodland Scenics® green and earth blend turf for the grass areas. These were stuck to the base using the Woodland Scenics® cement and spray bottle, first covering the base in the cement and pouring the mixed turf on top. As it dried in place, I poured the excess turf blend off the base and sprayed the remainder with the cement once more. Once this had dried, I repeated the process on the churned-up areas, this time using the ground-up dirt from my garden instead of the turf mixture.

04. Diorama base with turf & dirt attached
05. Secured balsa wood border


With the edges of the base in a rather messy appearance, I found some left-over pieces of balsa wood strips from a previously completed university project, which I had no other use for. To avoid wasting this material, I opted to try them out as a border for the edges of the base in an attempt to mask the visually unpleasant sides. To achieve this, I cut four strips from the wood measured to the lengths of each side of the base. These were then glued to each side with a hot glue gun before carefully cutting them down to their required heights, following the curvature effects created by the terrain. Using the same technique, I then carefully used a knife to bevel the top edges of the wood to blend with the sides of the base more effectively.

With the base complete, I then placed the model tanks in their specified locations to see how the full diorama would appear when complete. By doing this, I felt there were several elements missing from the diorama that would help to improve it's feel and appearance. These elements were a line of foliage around the front of the knocked-out SU-152 SPG (Self-propelled gun) along with both Soviet and German infantry. For the former, I bought a bag of Woodland Scenics® Light Green Lichen™ foliage pieces and, using the Woodland Scenics® Scenic Cement™ and a hot glue gun, attached several to the base and the front of the SU-152 model. As well as adding the bushes around the front of the SU-152, I decided that it would make for a more interesting diorama if the vehicle was knocked-out. To do this, I once again used the electric foam cutter tool, this time piercing the side of the model to create a hole with a melted outer appearance. I also used this technique to remove the end of the barrel to make it appear as if a tank shell had cut through it. After making these modifications, I placed black paint around the hole and the barrel tip to create the illusion of scorch marks.

06. 1/72 scale Russian infantry figures
07. 1/72 scale German infantry figures


For the figures of the diorama, I decided to purchase two sets of Airfix® 1/72 scale infantry (one set WWII Russian, the other WWII German Infantry). To paint these figures, the technique I use is to paint the skin tone areas first (with Tamiya XF-15 'Flat Flesh'), as they are often the hardest to reach without catching other parts of the figure. Once these areas are dry, I place the overall base colours on the figures. These elements can be done in a variety of colours, while ensuring they are similar or match the historical context of the pieces. For the Russian infantry, I opted to use Humbrol Matte finish No. 94 for the base colour, black acrylic paint for the boots and Tamiya XF-65 'Field Grey' for their helmets. I used the same technique for the base colours on the German figures, this time using Tamiya XF-63 'German Grey' for the uniform of several models and helmets, and Humbrol 94 and Tamiya 'Field Grey' for the rest.

After the base coats of the figures had dried, it was time to focus on the detailing of the figures. This mainly included colouring the equipment and weapons of the models which was achieved using several sets of Winsor & Newton Promarker™ pens. The metallic silver pen proved highly effective at clearly indicating the metal components of the infantry weaponry. As well as highlighting the equipment details of the figures, the pens proved very useful at creating the illusion of camouflage pattern for the German infantry, by simply adding multiple coloured dots on top of the base paint colour. With all these aspects of the figures complete, they were ready to be attached to the base. To achieve this, I carefully cut the base plates off the figures feet before placing some glue on the bottoms of the boots and attaching them to the diorama base.

08. Battle of Kursk diorama (Work in Progress)
09. Battle of Kursk diorama (Work in Progress)


With practically all the components of the model complete, the base, the model tanks and infantry, I felt it was the right time to piece them all together. For this, I decided to glue all the figures and the SU-152 SPG in place so there would be no possibility of them moving or falling over, however, I decided not to secure the KV-1 & Tiger I tank to the base. This is because I felt it would make for an interesting diorama if it was possible to change the opposing armoured fighting vehicles, for example; the KV-1 with a KV-1S, and the Tiger I with a Ferdinand tank destroyer. For this to be possible, I purchased a Zvezda™ 1/72 scale Ferdinand tank destroyer model kit, piecing it together and completing it with paint, marker pens and decals. To finally complete the diorama, I decided to paint the balsa wood edges of the base with black acrylic.

10. 1/72 scale Ferdinand tank destroyer model
11. 1/72 scale Ferdinand tank destroyer model

12. 1/72 scale Ferdinand tank destroyer model

Finished Model

13. 'Heavy Tank Showdown' (KV-1 vs Ferdinand)
14. 'Heavy Tank Showdown' (KV-1 vs Ferdinand)

15. 'Heavy Tank Showdown' (KV-1 vs Ferdinand)
16. 'Heavy Tank Showdown' (KV-1 vs Ferdinand)

17. 'Heavy Tank Showdown' (KV-1 vs Ferdinand)
18. 'Heavy Tank Showdown' (KV-1 vs Ferdinand)

19. 'Heavy Tank Showdown' (KV-1 vs Tiger)

20. 'Heavy Tank Showdown' (KV-1 vs Tiger)

21. 'Heavy Tank Showdown' (KV-1S vs Ferdinand)

22. 'Heavy Tank Showdown' (KV-1S vs Ferdinand)

23. 'Heavy Tank Showdown' (KV-1S vs Tiger)

24. 'Heavy Tank Showdown' (KV-1S vs Tiger)
25. 'Heavy Tank Showdown' (KV-1S vs Tiger)

26. 'Heavy Tank Showdown' (KV-1S vs Tiger)
27. 'Heavy Tank Showdown' (KV-1S vs Tiger)

28. 'Heavy Tank Showdown' (KV-1S vs Tiger)

'Tiger Killer' Diorama

Historical Context

Making its battlefield debut on the Russian front in 1942, the Tiger I (PzKpfw VI) heavy tank became one of the most powerful and feared weapons of the Second World War. When it entered service, with its 88mm gun and up-to 100mm armour protection, it proved to be a highly devastating and near invulnerable weapon in the German arsenal. The tank was capable of destroying any Allied or Soviet armoured vehicle, of the time, at ranges up-to 1000m and was almost impervious to hits from all Allied and Soviet anti-tank weapons.

Although the Tiger tank had this apparent battlefield superiority when it first entered service, due to the further technological advancements by the Allies and Soviets during the war this battlefield supremacy was soon diminished by the introduction of more powerful weapons and armoured vehicles to counter this new threat. This was first achieved by the Soviets in 1943, with the introduction of the SU-152 self-propelled gun, later followed that year with the KV-85 and T-34/85 tanks. The Russian army also introduced what can be described as the first tank to truly equal the power of the Tiger I in both firepower and protection in the form of the IS-2 (named after Iosif Stalin). This tank was equipped with a 122mm D-25 gun and protected by 120mm of armour thickness.

The Allied forces, on the other hand, took longer to develop such weapons, with the British first introducing the 17-Pounder anti-tank gun in 1943, however this weapon was not placed in a viable armoured vehicle until 1944, in the form of the M10 'Achilles' tank destroyer and M4 Sherman Firefly tanks. This was achieved by replacing the original American 76mm M7 (M10 'Wolverine') and 75mm M3 (M4 Sherman) guns with the newly developed  British 17-Pounder.

Later in the same year (1944) the American forces first introduced armoured vehicles equipped with weapons capable of penetrating the frontal armour of the Tiger I tank at a reasonable range. This came in the form of the M36 Jackson tank destroyer, equipped with the 90mm M3 gun. This anti-tank capability within the American armoured forces was later improved with the introduction of the M26 Pershing tank in 1945. This was the first Western Allied tank to match the Tiger I in both firepower and armoured protection.

Design Development Process

Using this information and a spare Tiger I model from a previously completed Italeri® model kit, I decided to develop a diorama design that would include a knocked-out Tiger tank and another vehicle capable of causing its destruction. With some pre-purchased Armourfast™ tank destroyer kits, M10 'Achilles' and M36 Jackson kits, I decided to base the diorama on the Western front theatre of the war. Also, with both of these tank destroyers, the M10 and M36, using the same hull design, it was also possible to design the model with interchangeable turrets, using both that of the M10 'Achilles' and M36 Jackson.

With the featured vehicles of the diorama worked-out, the next step involved figuring-out the dimensions of the diorama base and finding a suitable material to construct it from. For this, I used a  left-over piece of MDF board from a prior university and attached a piece of polystyrene packaging foam with a hot glue gun, but before this, I used a heat foam-cutting tool to shape the polystyrene. This was to make a ditch, which will have part of the Tiger tank model, to create the illusion of it falling in. I then decided that the top of the foam piece should feature a dirt road so it would appear as if the tank destroyer was driving past.

01. Models on foam and MDF base (Test)
02. Models on foam and MDF base (Test)

03. Models on foam and MDF base (Test)

Once the foam was secure, I removed the excess areas of the MDF base using a saw. Once this excess was removed, I turned my attention to developing the terrain details of the model. To achieve this, I collected some dry dirt from my garden, which I then ground-up and pushed through a sieve. Before placing the grounds of dirt on the base, using a hot glue gun, I positioned several streaks of hot glue along the edges of the track positions for the Tiger I model. By doing this, I was able to create a pair of channels in which to place the knocked-out tanks treads. After these had cooled and cured, I covered the planned dirt road and ditch areas with Woodland Scenics® Scenic Cement, applied using a spray bottle, before covering them with the dry, ground-up dirt. While these areas were still wet, taking the hulls of each model tank, I carefully pressed them down on the base in the areas they are going to be positioned to create track impressions in the dirt. After these areas had dried, I repeated the first step of this process, covering particular areas of the base with the scenic cement, before covering them with the terrain details, this time with Woodland Scenics® Green Blend Turf. To complete the base I painted the areas of dirt, with Humbrol™ matte finish enamel paint no. 26, so that it matched the paint used for the dirt detailing on the model tanks.

04. Diorama base (Work in Progress)
05. Diorama base (Work in Progress)


With all these elements secured and dry, I switched my attention to further development of the models that will feature on the diorama. For the two Allied vehicles, the M10 'Achilles' and M36 Jackson tank destroyers, as they came without crew figures, and being open-top vehicles, I used some figures from different 1/72 scale model kits of each nation, Britain and America, for each of the models. On the M10 'Achilles' model, I used gun crew figures for a 6-Pounder anti-tank gun kit, by Valiant Miniatures, and for the M36 Jackson, I used 1/72 scale Airfix® WWII U.S. Marines figures. With both sets of figures, I opted to paint them while they were complete, but once they had dried, to make them fit into the turrets of the model tanks accurately, I cut-off the base plates of each one before cutting them at the waist and testing them in the models. After I had worked-out each of the figures' positions in the turrets I glued them in place.

Alongside placing figures in the Allied vehicles as their crew, I also had to modify the model Tiger tank so it would appear as though it had been destroyed by that vehicle. This was achieved with the use of a styrofoam cutting pen, by Genround, which features a metal rod that heats up when switched on. While this tool is best used on styrofoam, due to the thickness of the heated rod, it is also highly effective at creating holes in the plastic model kits, and with the tool melting the plastic areas around the hole, it creates a realistic appearance to the detail of the model. The holes were created using the tip of the metal rod, but it also proved effective at creating grooves in the plastic, replicating ricochet damage, when held at particular angles against the model. To complete the illusion and the details of the penetration points, black acrylic paint was placed in and around these areas to create the appearance of scorch-marks/burnt areas. To complete the burning illusion, I took a ball of cotton and placed it in the turret ring of the Tiger tank hull, but to create the illusion of smoke, I carefully tore several pieces from the ball, which created a bellowing smoke effect.

06. 'Tiger Killer' diorama (Work in Progress)
07. 'Tiger Killer' diorama (Work in Progress)


To finish the base of the model, I cut-down strips of balsa wood to place around the edges as a border before attaching them to the MDF and foam sides. I measured the lengths of all the sides and cut the wood to match, after which, I attached the pieces to the base. Once these were in position, I carefully trimmed away the excess pieces of wood so that they fit tightly to the base. With these secured in place and trimmed to the correct sizes, once again using black acrylic paint, I covered these border areas of balsa wood. Once these final pieces of the base were dry, I was able to place the finished models into their correct positions on the diorama to complete it. This model has been designed in a particular way so that the British M10 'Achilles' tank destroyer can have it's turret replaced with one from an American M36 Jackson tank destroyer to easily change the Allied vehicle featured in the diorama.

Finished Diorama

08. 'Tiger Killer' diorama (M10 'Achilles')
09. 'Tiger Killer' diorama (M10 'Achilles')

10. 'Tiger Killer' diorama (M10 'Achilles')


11. 'Tiger Killer' diorama (M10 'Achilles')


12. 'Tiger Killer' diorama (M36 Jackson)

13. 'Tiger Killer' diorama (M36 Jackson)

14. 'Tiger Killer' diorama (M36 Jackson)


15. 'Tiger Killer' diorama (M36 Jackson)


16. 'Tiger Killer' diorama (M36 Jackson)

17. 'Tiger Killer' diorama (M36 Jackson)

18. 'Tiger Killer' diorama (Knocked-out Tiger I)

Battle of Britain Diorama - Biggin Hill Airshow 2018

Overview

While studying on a design course at university, I received an opportunity to play a role in the construction of a large scale diorama for the Biggin Hill Festival of Flight 2018, to celebrate the 100th anniversary of the formation of the British Royal Airforce (RAF). The design of the model was based on the Battle of Britain, featuring models of several aircraft from the battle, set above the white cliffs of Dover.

Development Process

Before meeting with the company that was commissioned to create the piece, the experience began with them sending myself (and another student from my course) several Airfix® model kits to construct and paint to be placed on the diorama. Based on the Battle of Britain, above the cliffs of Dover, the models provided were a mix of 1/72 scale Hawker Hurricane and Supermarine Spitfire fighter aircraft. Initially, we were only set the models to build, with the delivery of the paints arranged at a later date. Once the paints arrived, the models could be completed in preparation for placement on the diorama base.

01. Model making work area
02. Model planes in drying area


After these models were completed, we arranged a day to meet up at the companies workshop to assist with the main build of the diorama base and to deliver the finished model aircraft to be placed on the base. We organised for the work experience to take place on the 3rd August 2018 at the workshop in Orpington.

Once we arrived at the workshop, we began planning the day, setting up the equipment, materials and finalising the design. The main objective of the day was to build a solid foundation for the diorama base, with a secure timber frame.

03. Dover cliffs & timber framework
04. Timber framework


05. Dover cliffs with sky background


The white cliffs of the piece were created by another company and delivered to the workshop. Once the cliffs were in place on the framework, we attached the sky background that was painted for the model. With all these elements secured in place, and with no materials to finish the clifftops and cover the framework at the sides, we decided to move on to the next task.

The next task required of us was to construct a series of television stands. These stands were designed to be placed on the ground at an angle so that a flat screen TV could be attached to the front for the public to view. It was decided that the shape of the design would be a large circle with three coloured rings painted on to replicate the appearance of the RAF insignia (red centre, white middle, blue outer) used on their aircraft.

07. Dan drawing circles in preparation for painting
06. Design setup test
08. Partially painted TV stand
The first step in making these stands involved cutting the circles from sheets of wood and figuring out the angle required to view the TV screens clearly while standing. With this worked out, we screwed them into position so they would have several pilot holes on each to make it easier to reassemble the stands after transportation. When completed, the screws would be covered over with paint and the television screens. To paint the stands, the circle boards were first removed from their box stands and placed on top to prevent any paint running down them.

Final Outcome

At the event, these pieces of work were on display at Biggin Hill in the 100th anniversary of the RAF marquee. The stands featured television screens with videos of witness testimonies and information about the Battle of Britain and the individuals that took part in the battle. The 'Dover Cliffs' diorama was also on display in the marquee, along with a plaque featuring photographs and information about Biggin Hill and the Battle of Britain.

09. RAF insignia TV stand
10. Finished 'Dover Cliffs' diorama
11. Finished 'Dover Cliffs' diorama
12. Spitfire & Burning Bf. 109 models ('Dover Cliffs' diorama)
13. Hawker Hurricane models ('Dover Cliffs' diorama)